The usefulness and safety of your home or business can be greatly improved by installing an intercom system. You must know how to correctly set up an intercom system to make it easier for people to talk to each other in a big house, control who comes into a closed community, or keep an office building safe.
This blog post will show you the most important steps for setting up an intercom system, from picking the right type for your needs to connecting and trying it all. We’ll give you detailed information and useful tips to ensure the installation goes smoothly and that your intercom system works perfectly from the start. Come with us as we take the mystery out of the process and give you the information you need to improve the communication and protection on your land.
Installation Of Intercom System
Intercom systems are integral to enhancing communication and security within homes and businesses. Whether you’re looking to install a new system or upgrade an existing one, understanding the installation process is crucial for optimal performance.
Pre-Installation Checklist
Before starting the installation, prepare thoroughly:
Tools and Materials Needed: Gather essential tools such as screwdrivers, wire strippers, drills, and ladders. Cables for wired systems, hanging brackets, and audio units are some of the things that are needed.
Safety Precautions: Make sure all of your tools are in good shape and that you know how to work with electricity systems. When working with electricity lines, you should always turn off the power.
Step-By-Step Installation Guide
When installing a wired intercom system, it’s essential to carefully map out the routes for the wires, ensuring they are both efficient and discreet. Start by identifying where the main and secondary units will be located, keeping in mind areas of high traffic and points of entry. The wiring should run through less conspicuous areas such as attics, basements, or walls to maintain the aesthetic integrity of your home while ensuring easy access for future maintenance.
For wireless systems, placement is key to performance. Choose locations that avoid physical obstructions and minimise interference from household electronics like microwaves and wireless routers. Testing different locations for signal strength before finalising the installation can help achieve your wireless intercom system’s best operational efficiency and coverage.
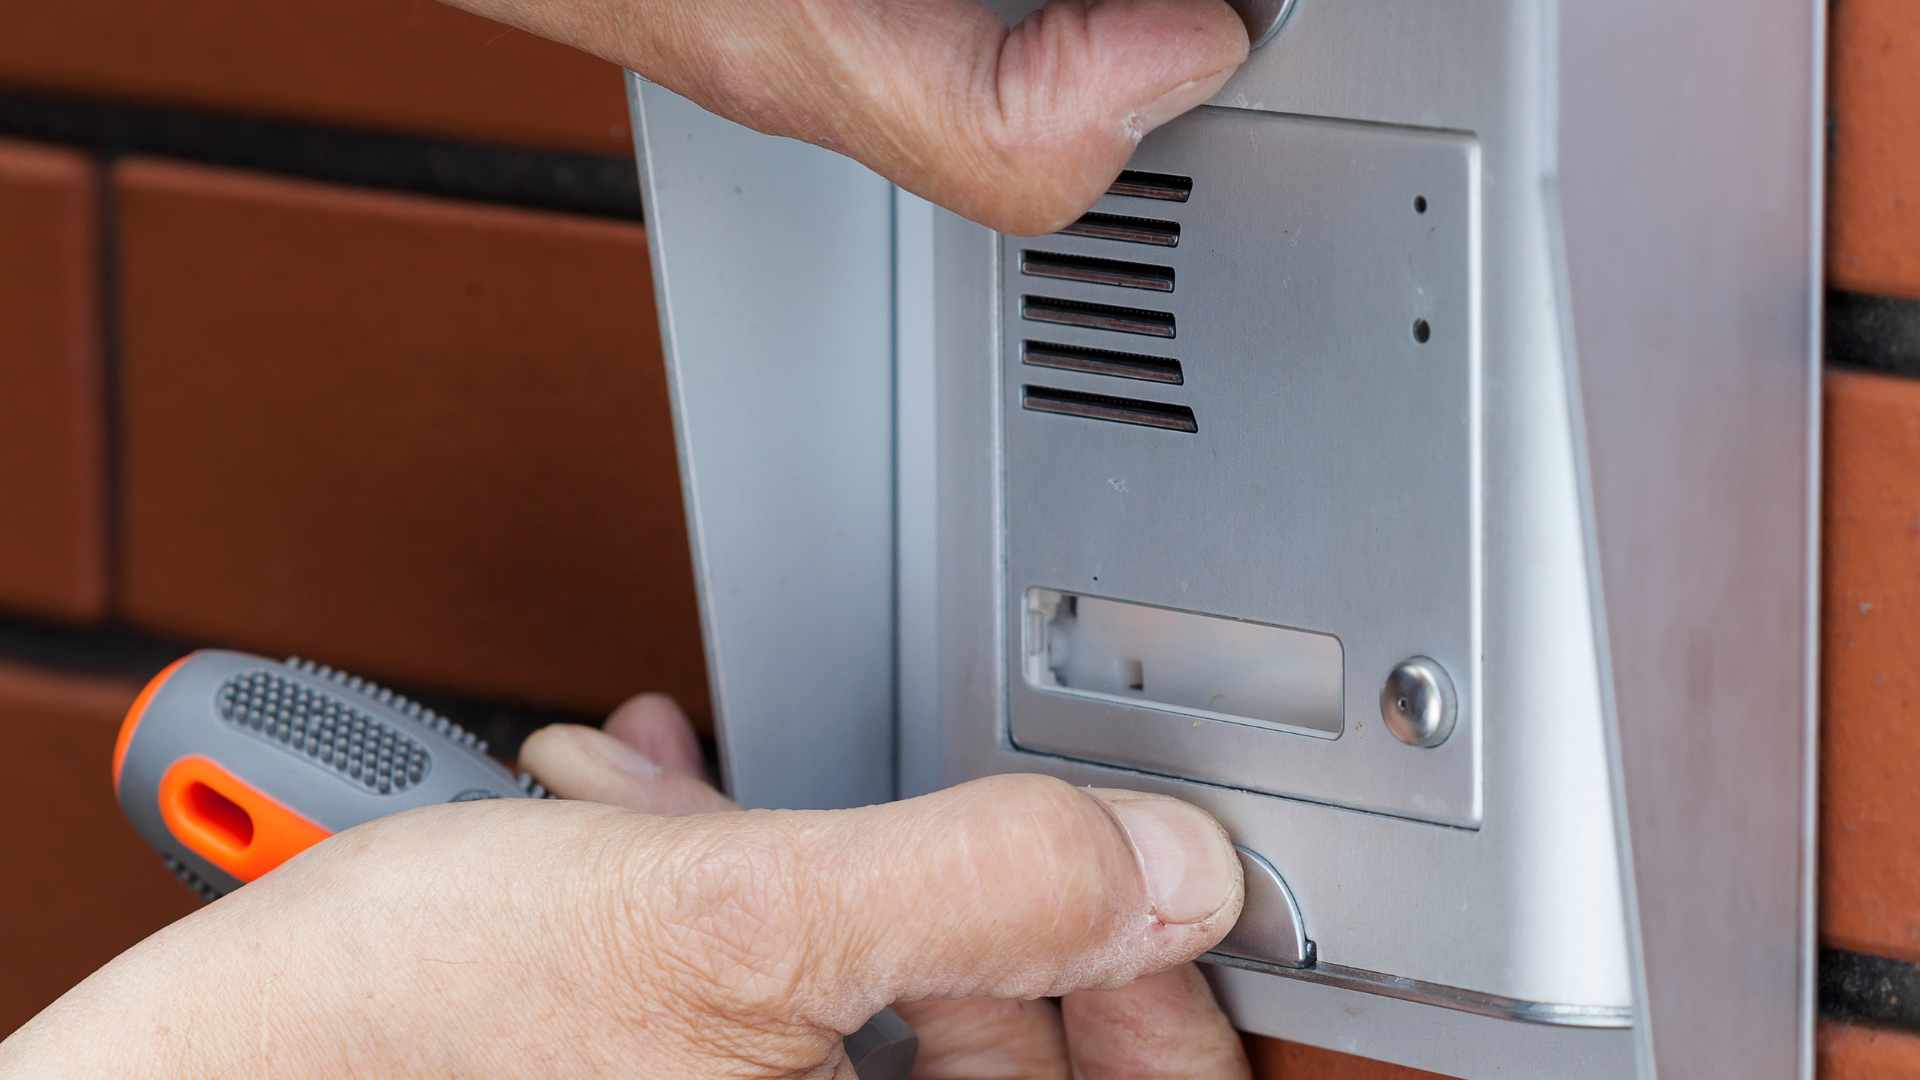
Preparing The Mounting Sites:
For wired systems, cut appropriate holes in the walls for the master and substation units.
Ensure the mounting sites are level and clear of debris.
Running The Wiring:
Run the cables through safe routes for wired systems, ensuring proper insulation. Use fish tape to guide the wires through walls, especially if they contain insulation.
Connecting The Wiring:
According to the wiring diagram, connect the wires to the terminals on the master and substation units. Securely fasten the units to the wall and attach the trim moulding.
System Configuration:
Set up the main console, connect each unit, and ensure the power supply is adequately handled.
Testing The System:
Test each unit to ensure functionality and clear audio and video quality (if applicable). Troubleshoot any issues immediately to ensure all connections are secure and the system operates correctly.
Configuring Settings And Training Users:
Configure the system settings to optimise performance and user experience. Train tenants or employees on how to use the intercom system effectively.
Advanced Tips And Tricks
- Enhancing System Performance: Integrate the intercom system with other smart home or office systems for added functionality.
- Consider remote unlocking, integration with CCTV systems, and smart home hubs for a comprehensive security solution.
- Customising for Unique Spaces: Tailor the intercom system to fit specific architectural designs or building layouts. Use minimally invasive wiring techniques for historical buildings or aesthetically sensitive areas.
- Overcoming Technical Challenges: Select appropriate systems to handle thick walls or multiple floors. Use signal boosters for wireless systems in complex environments.
Testing Of Intercom System After Installation
After successfully installing an intercom system, the next critical step is thoroughly testing it to ensure it functions correctly and meets your communication and security needs. This guide provides a detailed process for testing your intercom system after installation, helping you identify and resolve potential issues before going live.
Initial Setup Verification
Ensure all wires and connections are securely attached, and there are no loose ends. For wireless systems, verify that all devices are properly paired. Confirm that the intercom system receives power and that all units are turned on.
Basic Functionality Testing
Conduct a two-way audio test between all intercom units. Speak into one unit and listen for clarity and volume at the receiving end. Check for any static or interference. Test the video feed from all cameras. Ensure the image is clear, there is no lag, and that night vision (if available) works correctly.
Range And Signal Strength
For wireless systems, move between locations within the coverage area to test signal strength and range. Ensure there are no dead zones where the intercom fails to work.
Feature Testing
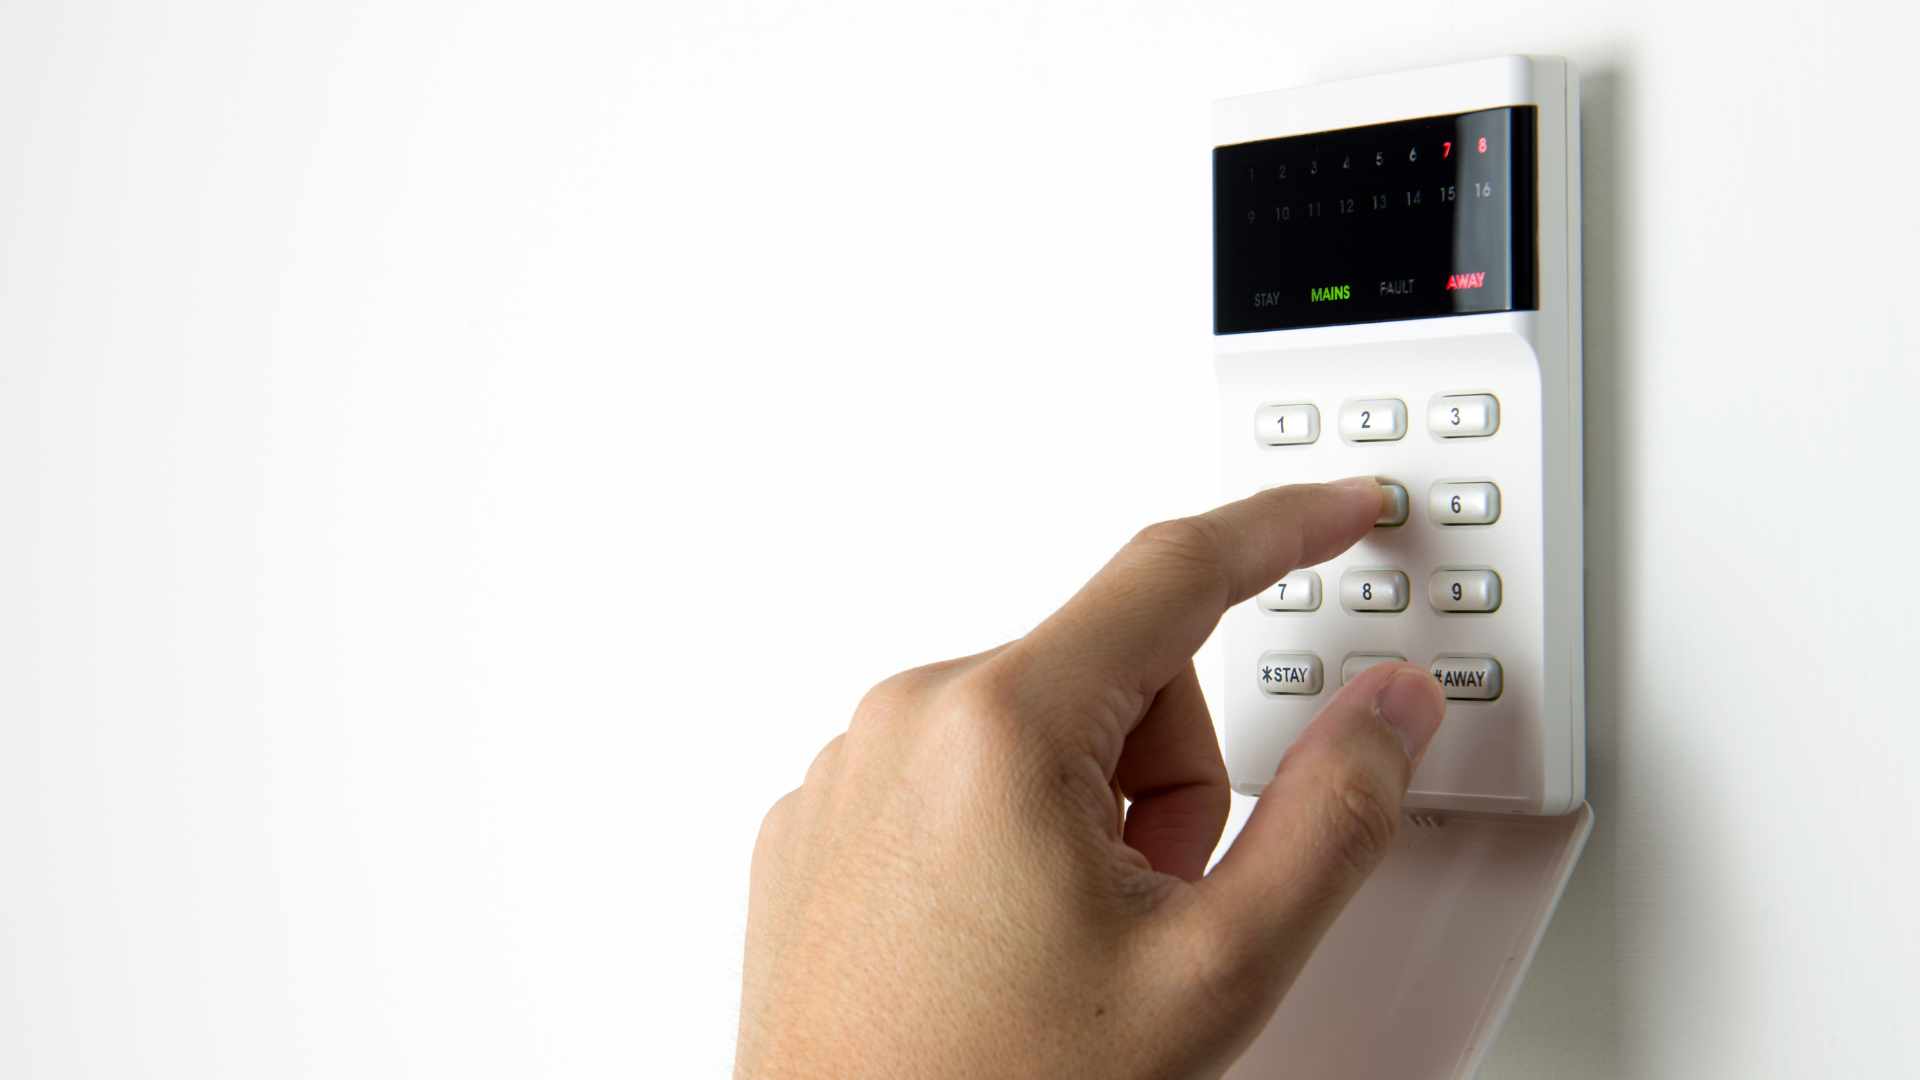
Test remote access features, such as opening doors or gates from a mobile device or control panel. Verify that all commands are executed promptly and accurately. If your intercom is integrated with other security systems (like CCTV or alarm systems), test these integrations to ensure seamless operation.
Stress Testing
Multiple users operating the system simultaneously can minimise heavy usage. Check for performance degradation or issues when the system is under load.
User Interface And Configuration
Ensure that the user interface is intuitive and that users can easily navigate the system. Test the process for adding or removing users, configuring settings, and setting up access controls.
Security Testing
Verify that all security features, such as encryption and secure login, function correctly. Ensure there are no vulnerabilities that could be exploited.
Final Validation And Feedback
After thorough testing, gather feedback from users to identify areas for improvement. Based on this feedback, make necessary adjustments.
Maintenance Tips For Intercom System After Installation
Intercom systems ensure security and convenience in residential and commercial properties. Proper maintenance is key to prolonging their lifespan and functionality. Here are some essential maintenance tips to keep your intercom system running smoothly.
Regular Cleaning
Outdoor Units
Protect outdoor units from harsh weather conditions. Consider installing a small shade to protect the unit from rain, snow, and direct sunlight. Regularly clean the speaker, microphone, and camera lens to ensure clear audio and video quality. Use a soft cloth and avoid harsh cleaning agents.
Indoor Units
Encourage residents or employees to dust off indoor units regularly. Dust accumulation can affect performance. Use gentle cleaning solutions and avoid spraying directly onto the units. Instead, spray on a cloth and wipe gently.
Visual Inspections
Regularly inspect all wiring and connections for wear, corrosion, or damage. Ensure all connections are secure. Look for any physical damage to the units. Ensure all parts, including the master station and sub-stations, are securely mounted and properly aligned.
Software Updates
Keep the intercom system’s software up-to-date. Regular updates can patch security vulnerabilities and improve system functionality. Schedule regular checks for software updates from your intercom provider and install them as recommended.
Power Supply Maintenance
Ensure the power supply is functioning correctly. Check for any signs of damage or wear on power cables and connectors. Regularly test backup power systems to ensure they are operational. This is crucial for maintaining system functionality during power outages.
Secure Your Internet Connection
For wireless intercom systems, ensure a secure and dedicated Wi-Fi network. This reduces the risk of hacking and network breaches. To protect the network, regularly update passwords and use strong encryption protocols.
Protect Against Environmental Factors
Bug repellents should be installed around outdoor units to prevent insects from damaging internal components. Avoid spraying directly onto sensitive parts like the lens or microphone.
Consider using waterproof intercom systems if your area is prone to high moisture levels.
Avoid DIY Repairs
Refrain from attempting to disassemble or repair the intercom system on your own. Doing so can cause further damage and may void your warranty. Always contact a professional for any repairs or significant maintenance tasks.
Regular Testing
Regular tests of the intercom system are conducted to ensure all features are working correctly. This includes audio and video quality, door release functions, and integrated security features.
Schedule periodic tests with all users to ensure familiarity with the system and to identify any issues promptly.
Documentation And Training
Maintain a detailed log of all maintenance activities, including inspections, cleanings, updates, and repairs. This helps track the system’s health and plan future maintenance.
Provide training for residents or employees on basic maintenance tasks and proper intercom system usage. This can prevent misuse and minor issues.
Choosing The Right Intercom System
Intercom systems are critical in enhancing communication and security in various settings, including homes, offices, commercial establishments, and industrial environments. As technology evolves, the variety of intercom systems has expanded, offering diverse functionalities to meet specific needs. Here’s a comprehensive guide to help you choose the right intercom system.
Wired Intercoms: These systems are connected through cables and offer reliable, interference-free communication. They are ideal for settings where a stable connection is crucial.
Wireless Intercoms: These systems use radio frequencies or Wi-Fi for communication, offering flexibility in installation and mobility. They are suitable for areas where wiring could be more practical.
Video Intercoms: Equipped with cameras, these systems allow visual communication and monitoring. They enhance security by enabling users to see and communicate with visitors before granting access.
Two-Way Radio Intercoms: These intercoms can integrate with existing two-way radio systems, providing long-range communication solutions.
Key Features To Consider
When selecting an intercom system, consider the following features to ensure it meets your needs:
- Video Capabilities: Essential for visual verification of visitors and enhancing security.
- Remote Door Unlock: Allows users to grant access from a distance, providing convenience and added security.
- Integration with Other Systems: Ensures seamless integration with security systems, such as CCTV cameras and access control devices.
- Device Compatibility: Consider whether the system supports fixed receivers or allows users to connect using their devices (smartphones, tablets, computers).
- User-Friendliness: Systems should have intuitive interfaces and be easy to operate for all users.
Conclusion
There are many places where intercom systems are necessary to improve contact and safety, such as homes, offices, businesses, and factories. Some important kinds of intercom systems are video intercoms, two-way radio intercoms, wired intercoms, and wireless intercoms. Video possibilities, remote door unlocking, interaction with other systems, device compatibility, and ease of use are some of the most important things to think about.
Setting up an audio system is necessary for it to work well. Getting the right tools and supplies, taking safety steps, and carefully planning the wiring routes are all things that should be on a pre-installation checklist. Places to mount things should be level and free of junk. For wired systems, the wires should go through safe paths. It’s also important to connect the wires to the connections on the master and secondary units. The system should be set up, and the power source should be taken care of properly. Testing each unit makes sure it works and that the sounds and video are clear. Setting up settings and teaching people how to use them improves speed and the user experience.
It is very important to test an intercom system carefully after setting it up to make sure it works right and meets your contact and safety needs. Initial setup proof, basic functionality testing, range and signal strength testing, feature testing, stress testing, user interface and setting testing, and security testing are all parts of this process.
Some maintenance tips for intercom systems are to clean them regularly, keep the software up to date, maintain the power source, make sure the internet link is safe, protect them from environmental factors, don’t try to fix them yourself and test them regularly. Protection from bad weather should be given to outdoor units, and indoor units should be dusted off often. All parts should be firmly attached and lined up correctly, and they should all be visually checked for damage, wear, or rust.
FAQs About Intercom System
What Tools And Materials Do You Need To Install An Intercom System?
The tools and materials required to install an intercom system typically include a drill, screwdriver, wire strippers, electrical tape, and a ladder if you need to reach high places. Additionally, you’ll need the intercom units, wiring (unless it’s a wireless system), connectors, and mounting hardware. Ensure you have all these items before installing them to avoid interruptions.
Can You Install An Intercom System, Or Should You Hire A Professional?
While many intercom systems, particularly wireless systems, are designed for DIY installation, installing a wired intercom system can be more complex and might require electrical knowledge. If you are not comfortable with electrical installations or if the system requires extensive wiring through walls and ceilings, it might be safer and more efficient to hire a professional.
How Do You Choose The Best Location For Intercom Units In Your Building?
The best locations for intercom units depend on your building’s specific needs and layout. Generally, you should place the main unit near the primary entryway and secondary units in areas where communication will be most frequent, such as the kitchen, main living areas, or office spaces. Ensure that the units are placed at a convenient height for users and away from any potential interference, like metal walls or other electronic devices.
What Are The Differences Between Installing A Wired And A Wireless Intercom System?
The main difference is that wired systems require running cables between intercom units, which can involve drilling through walls and potentially complex cable management, offering a stable and reliable connection. On the other hand, wireless systems are generally easier to install as they do not require physical cabling between units and communicate via radio frequency or Wi-Fi. However, depending on the building’s layout and materials, they sometimes need help with building or range issues.
How Do You Test The Intercom System Once It’s Installed?
After installation, it is important to test the system to ensure all components function properly and thoroughly. This involves checking each intercom unit to confirm that it can send and receive clear audio (and video, if applicable). Test the system from various locations in your building to ensure no dead zones. Also, check any integrated features, such as door unlocking mechanisms or connections to other security systems, to ensure everything syncs.